
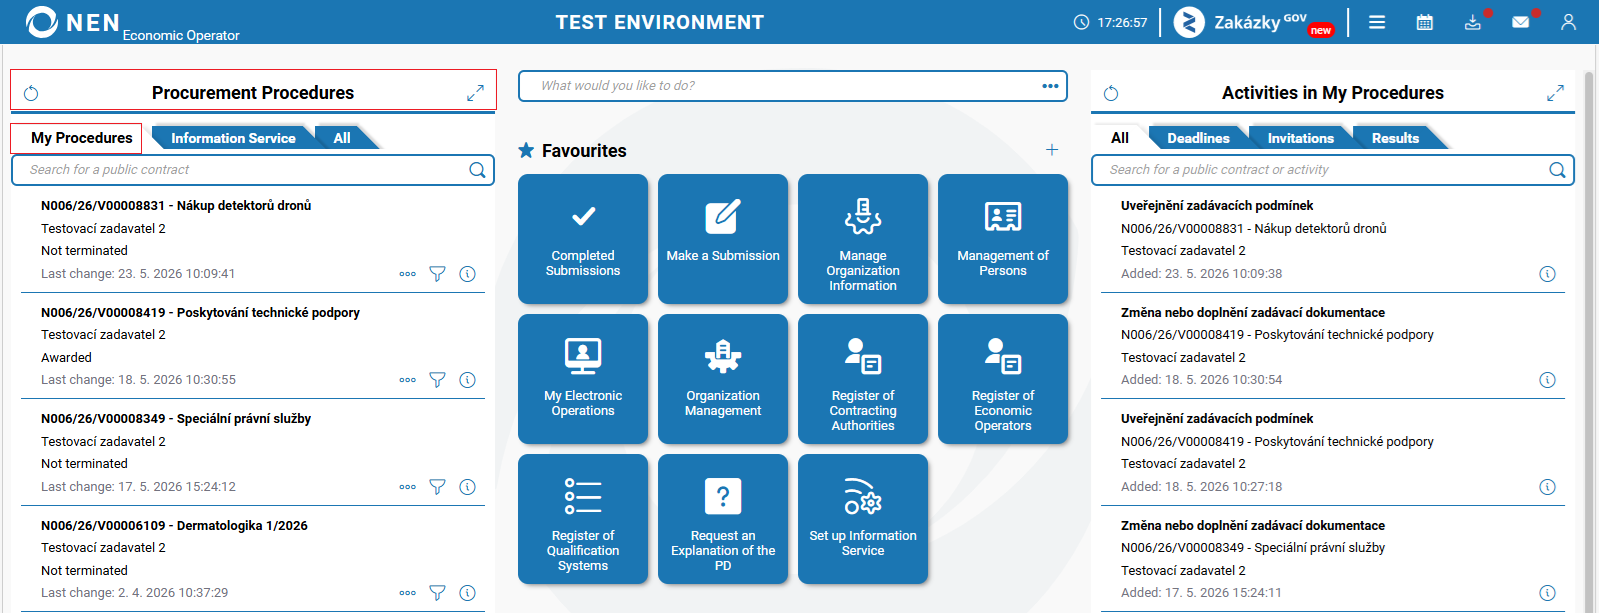
Functionalities related to setting and managing the organizational structure are accessible through the "Organization Management" tile.
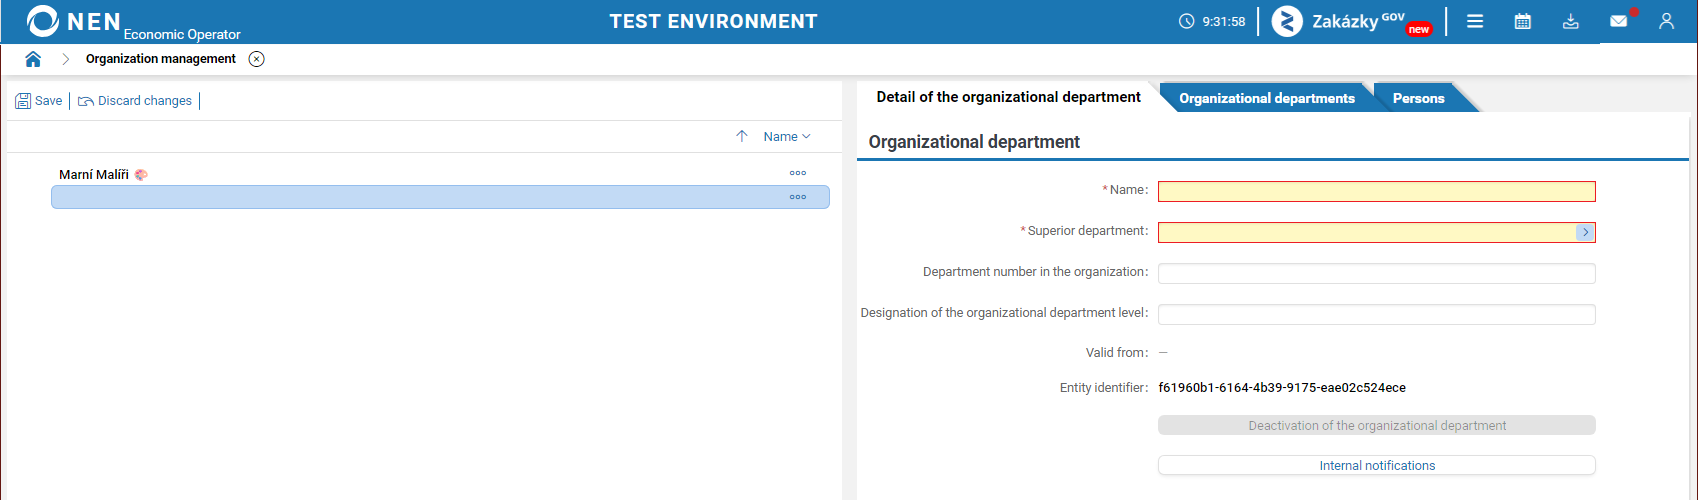
On this form, the left side contains a tree view of the organizational structure, and the right side contains the details of the specific department (including the "Detail of the organizational department", "Organizational departments" and "Persons" tabs).
You can search/ add the "Organization Management" tile using the search bar "What would you like to do?" or the "plus" icon. After clicking on this tile, a form will appear where you can create and subsequently manage the organizational structure.
Creation of an organizational department
Creation of an organizational department
In an organization, the "Entity’s Administrator" or "Organizational Department’s Administrator" can create the organizational structure and subsequently work with it. After creating an organizational department, individual NEN System Users and their roles can be assigned to this department. Additionally, it is possible to work in it with the assigned procurement procedures, sort subordinate organizational departments under it, or move it within the organizational structure of the entity.
-
Click on the "New" button.

-
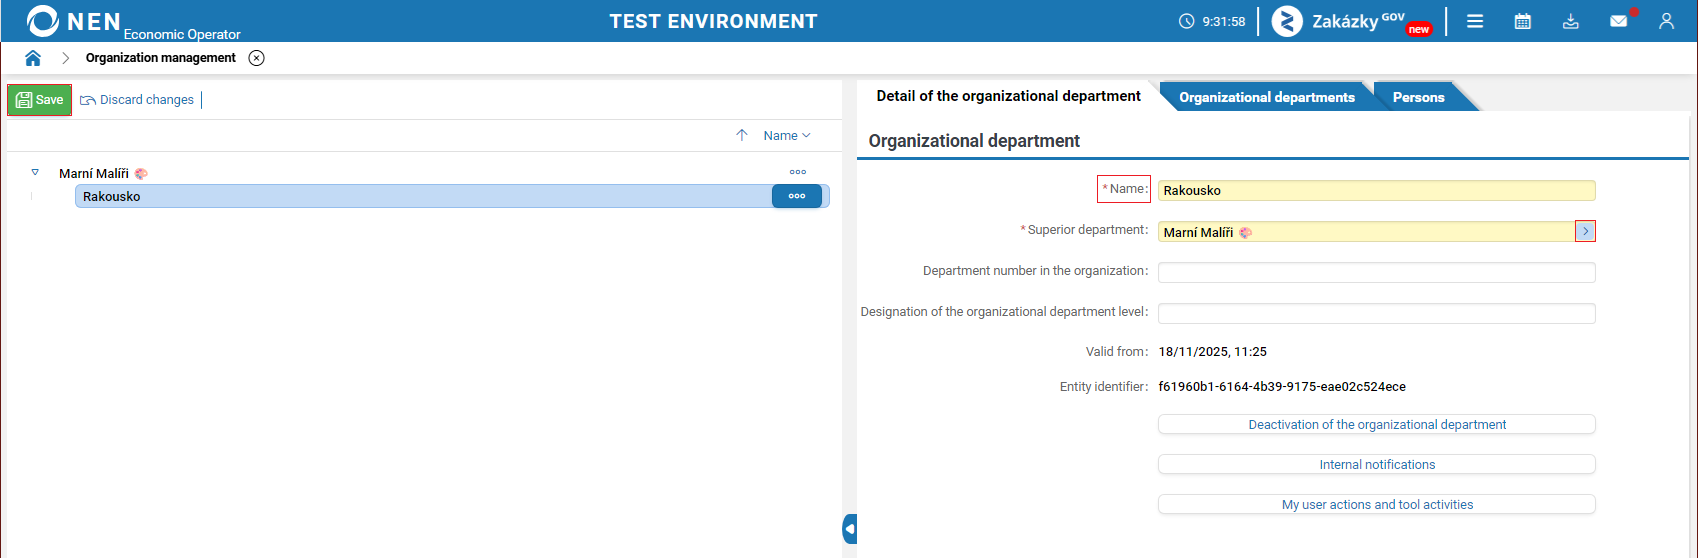
Fill in the required fields:
-
"Name" – the field representing the organizational department’s name, serving as the basic identifier,
-
"Superior department" – superior organizational department determines the placement of the new department in the hierarchical organizational structure of the entity. It is selected from the list accessible after clicking the control next to the "Superior department" field. Confirm your choice of the organizational department by pressing the "Select" button.
-
You can also fill in the optional fields:
-
"Department number in the organization" – this field is used only for internal identification and can be utilized, for example, in searching and sorting organizational departments,
-
"Designation of the organizational department level" – this field is used only for internal identification and can be utilized, for example, in searching and sorting organizational departments.
-
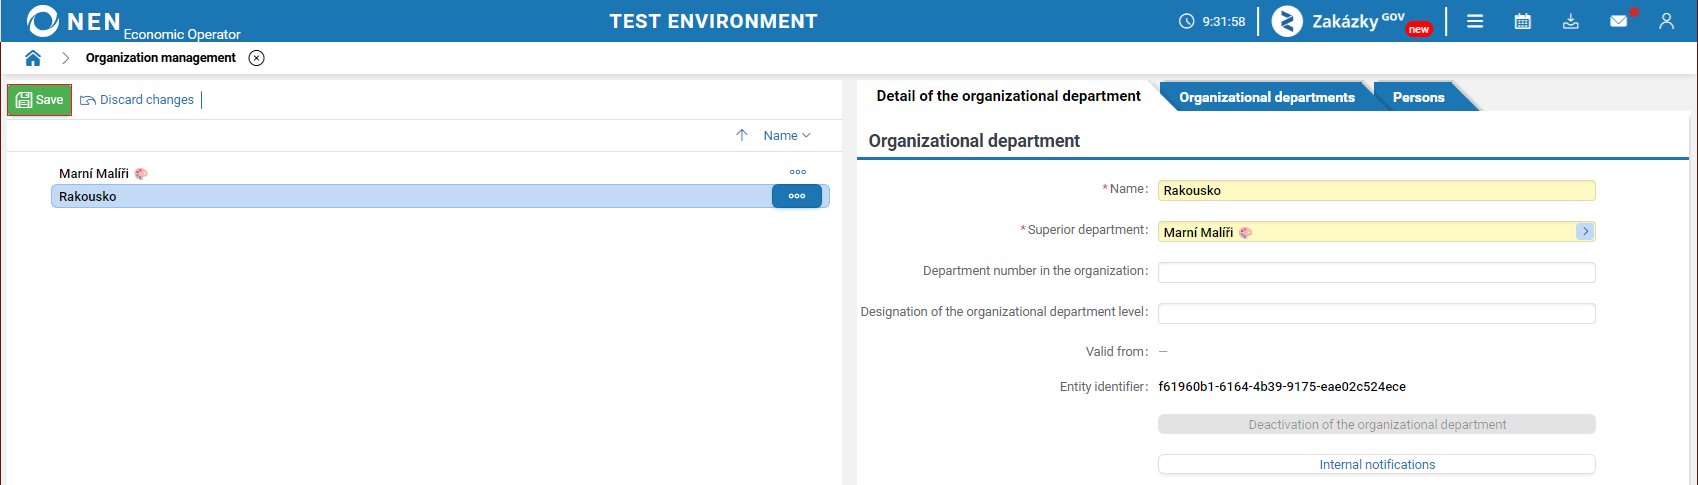
Click on the "Save" button to complete the department creation.
-
After saving, the created organizational structure will be displayed in the left part of the screen. Individual department names are sorted alphabetically.
Changing data and moving an organizational department
Changing data and moving an organizational department
Changing data and moving an organizational department does not create a new organizational department. Changes do not affect user roles either.
-
In the tree view of the organizational structure, find the respective department for which you want to make changes and click in the "Name" field on the right side of the form to activate the fields.
-
Edit the required and optional fields.
-
Click the "Save" button in the upper left corner of the form.
Deactivation of an organizational department
Deactivation of an organizational department
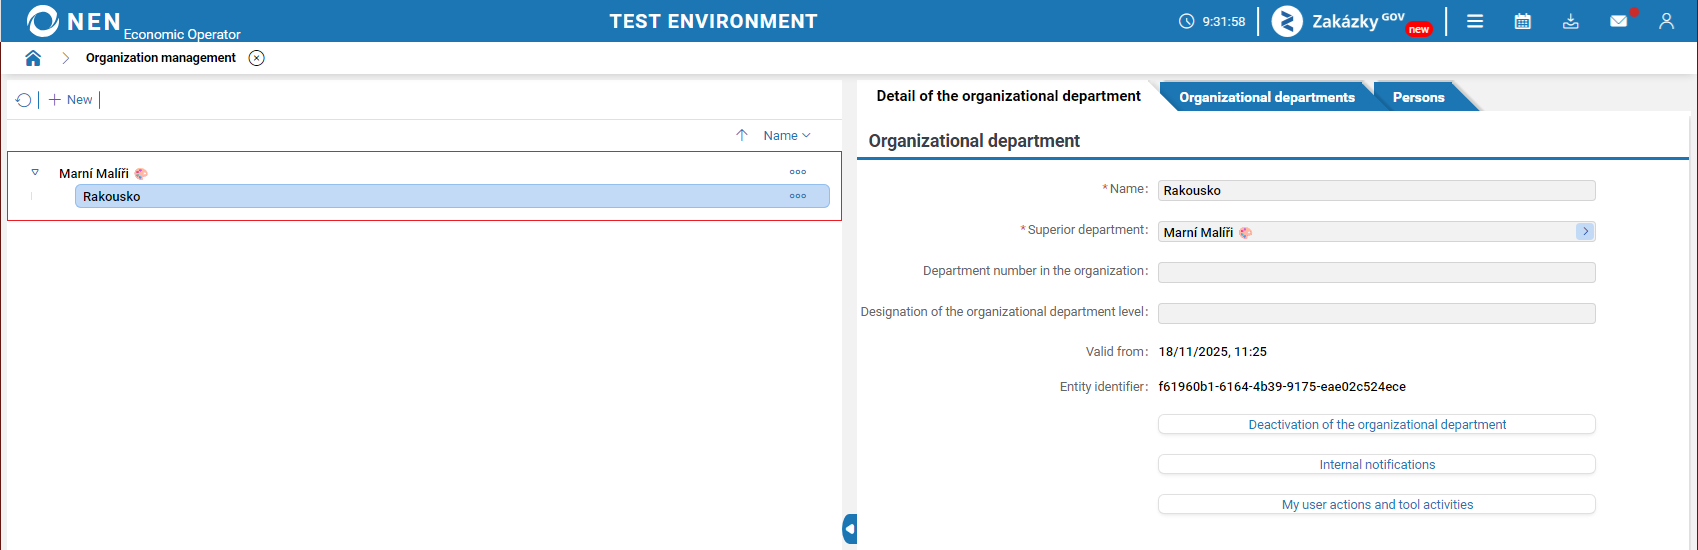
Deactivation of an organizational department results in the termination of the organizational department within the organizational structure of the entity.
-
Select the organizational department which you want to deactivate.
-
Click on the "Deactivation of the organizational department" button.
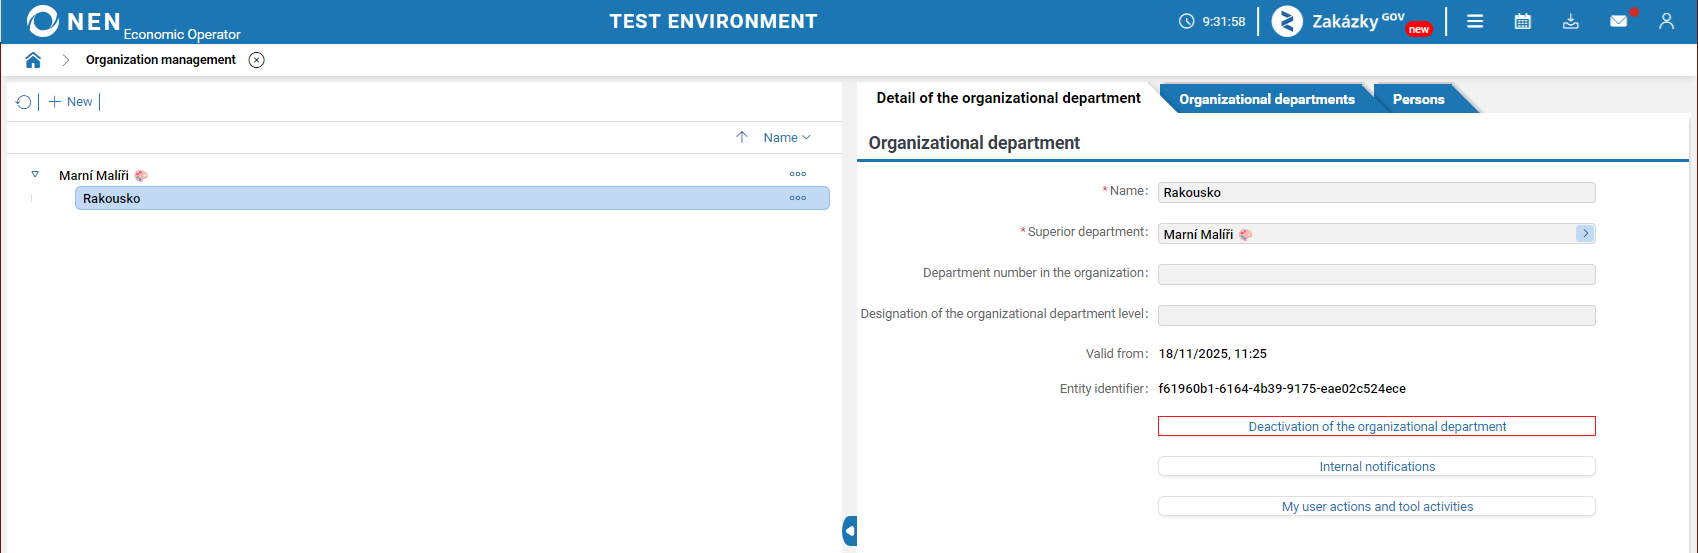
In the case of deactivating an organizational department, all its subordinate organizational departments (i.e., those that were previously active) will also be deactivated.
Organizational departments
Organizational departments
The folder displays a list of organizational departments, including their superior department and validity. When a department is selected in the tree on the left side, the list shows the departments that belong to the selected branch of the tree. If a department is selected in the tree that has no superior record (organization), the list displays all departments of the organization. If a department is selected in the tree that has subordinate units, the list displays all departments belonging to that branch.

Clicking the “i” icon in the list will display the “Detail of the organizational department” form, where you can edit the department data. It contains department information and a list of persons assigned to the given department.
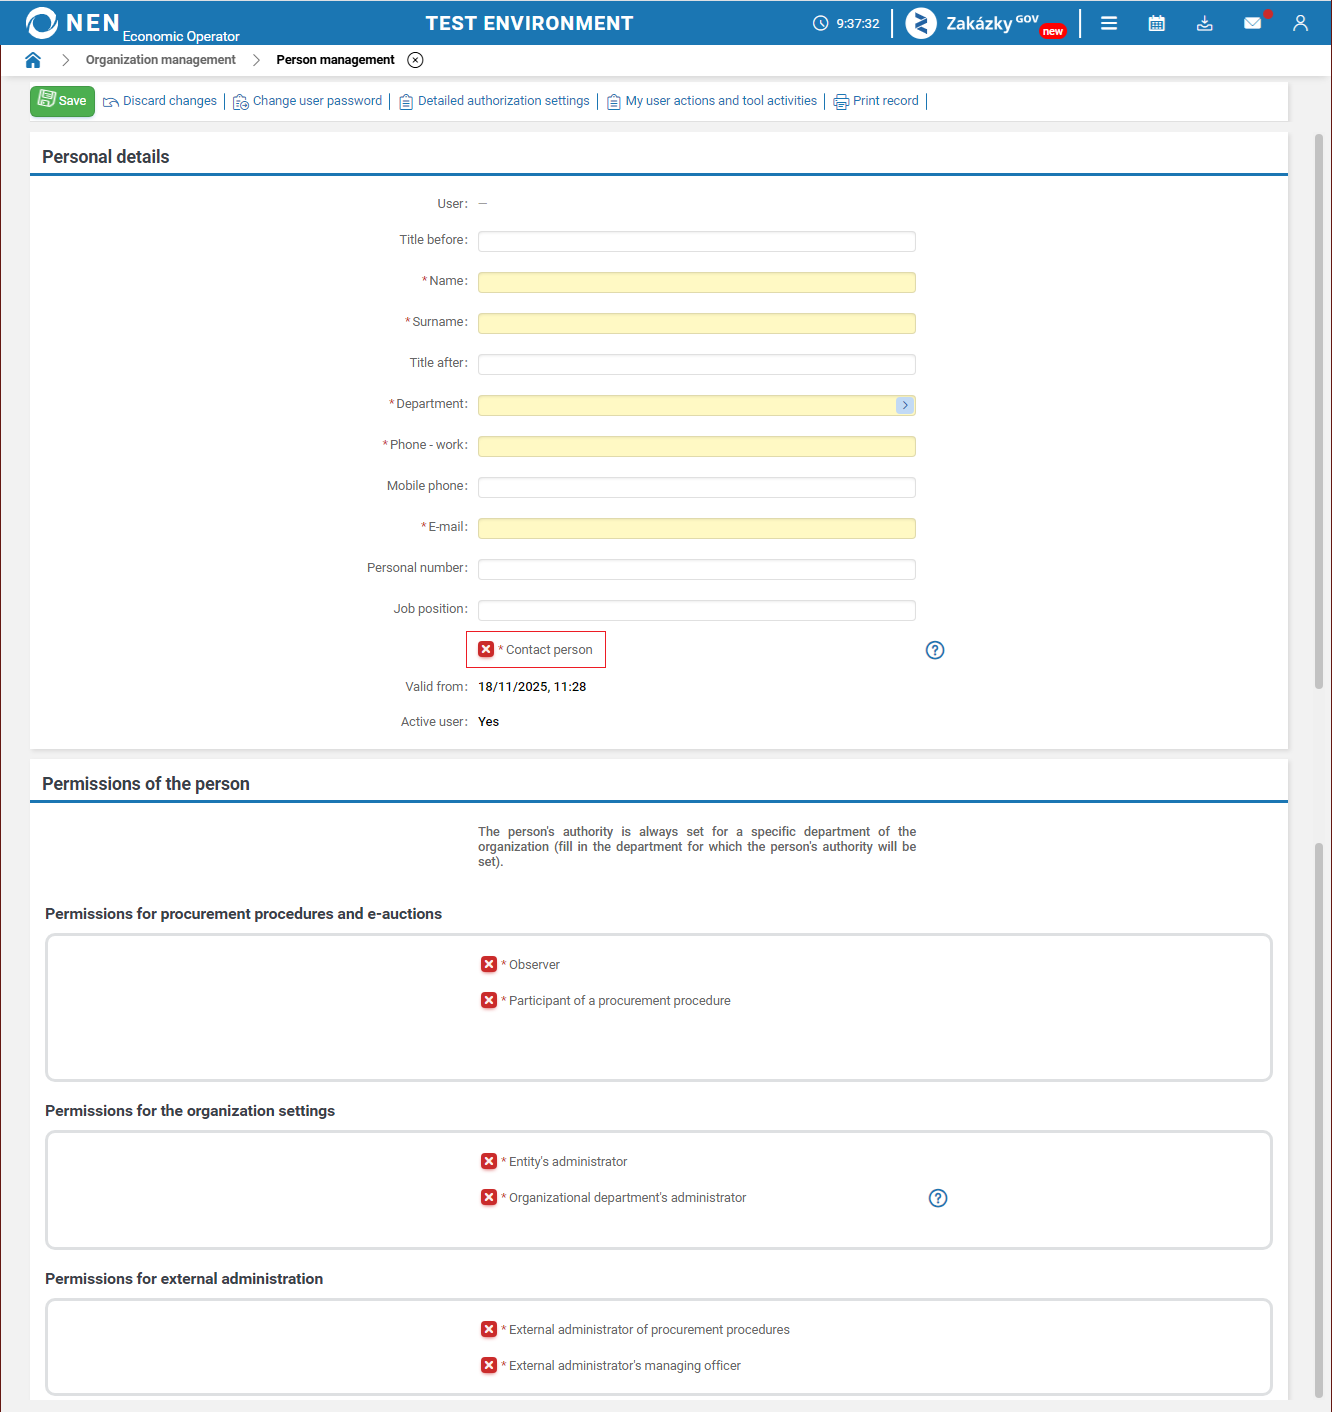
Creation of a new person
Creation of a new person
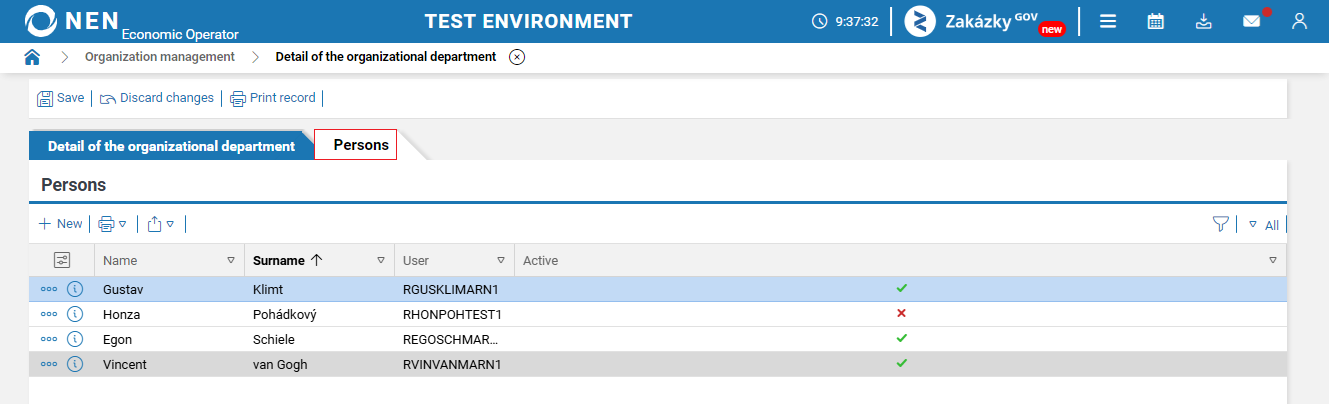
The "Persons" folder is used to create a new NEN System User and their roles within the entity.
-
Click on the "New" button, and the "Person management" form will appear.
-
In the "Personal details" section, fill in information regarding the particular person. Simultaneously, you can designate a "Contact person" (this person will be included among the organization's contact persons in the public portal of the NEN system).
-
Verify the correctness of the entered email address (an email including instructions for completing the registration of the new NEN System User and setting the access password for the NEN system will be sent to this email address).
-
In the "Permissions of the person" section, set the role(s) you want to assign to the person.
-
Click on the "Save" button to complete the registration of the new NEN System User. (After pressing the button, instructions for completing the registration will be sent to the provided email).
The above-described functionality is primarily served by the tile "Management of Persons".
Display of last login date
Display of last login date
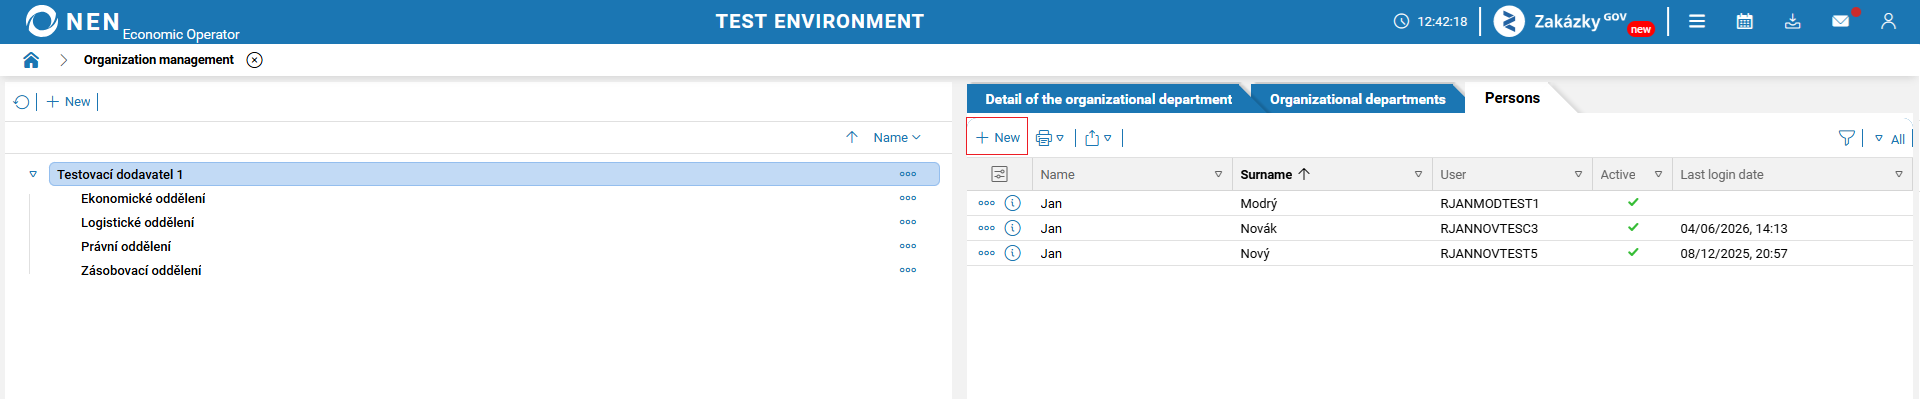
In the “Last login date” column on the “Persons” tab, you can view when each NEN System User last logged in.
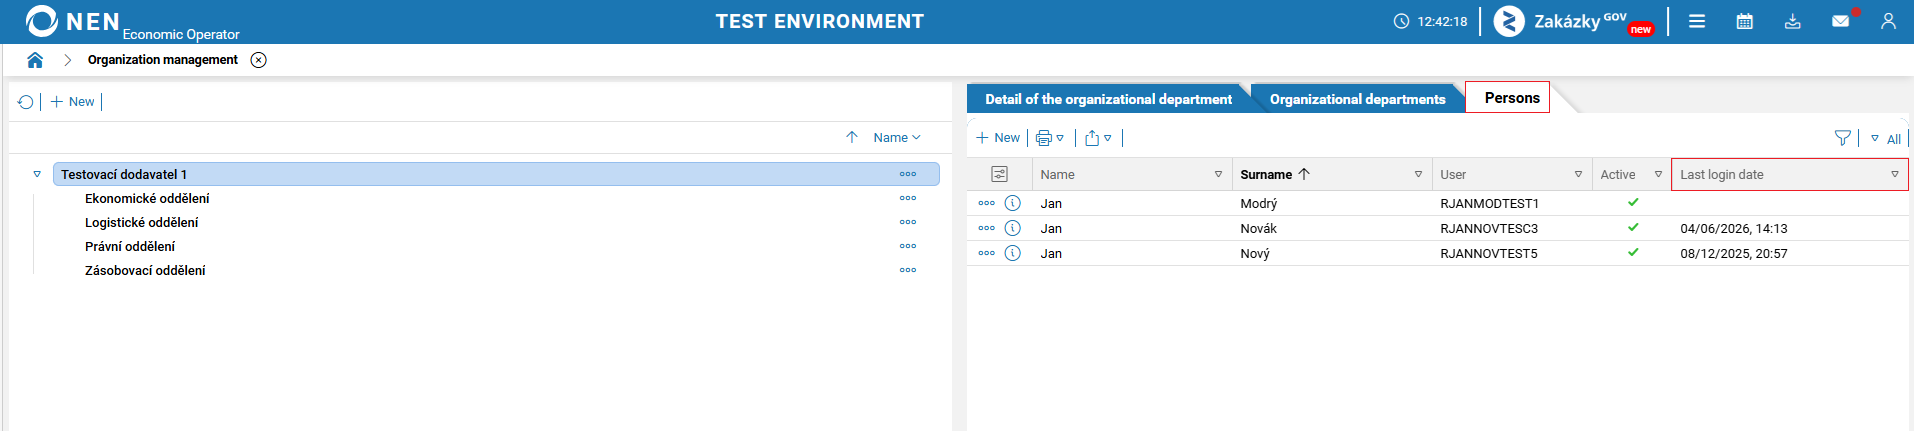
If no data is displayed, the given user has never logged in to the NEN system.
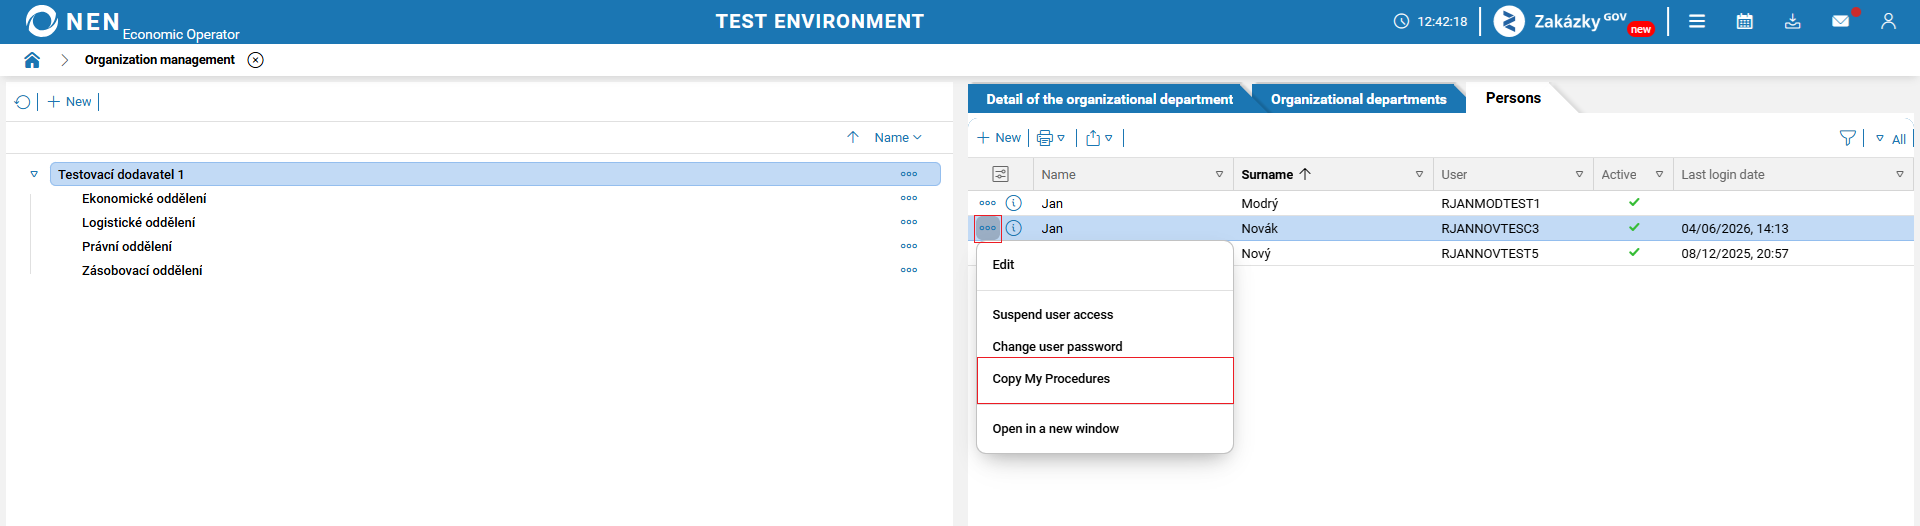
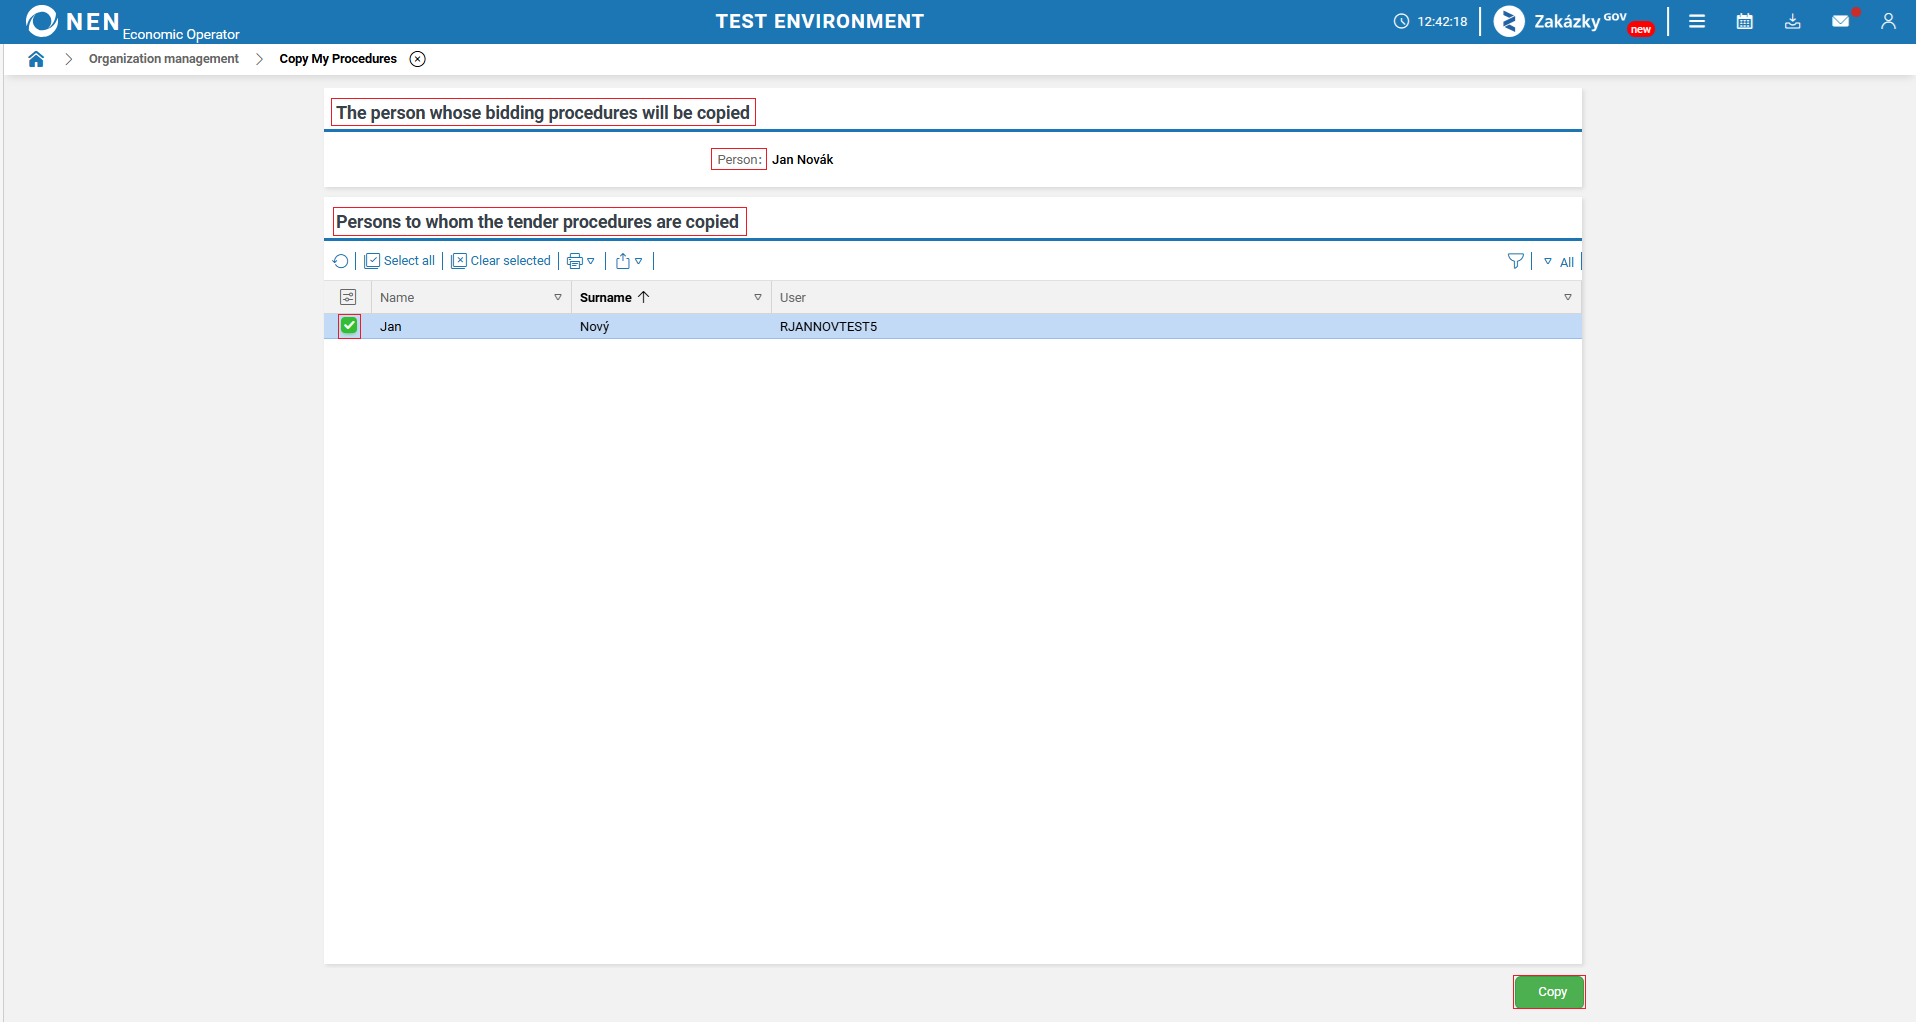
Copy My Procedures
Copy My Procedures
This function allows you to copy all procurement procedures from the “My Procedures” folder, located on the main screen under the “Procurement Procedures” section for a given user, to other selected NEN System Users.
-
On the “Organization management” form, in the “Persons” tab, click the “three dots” icon next to the NEN System User from whom you want to copy all procurement procedures from the “My Procedures” tab. The “Copy My Procedures” option will be displayed.
-
In the “The person whose bidding procedures will be copied” section, the “Person” field will show the user from whom all procurement procedures assigned under the “My Procedures” folder will be copied to all selected users in the “Persons to whom the tender procedures are copied” section.
-
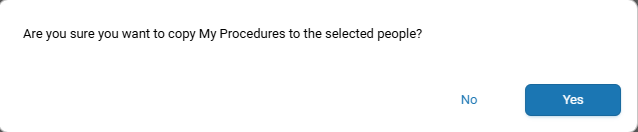
To complete the copying process, click the “Copy” button.
-
An informational message will be displayed, confirm it to proceed.
-
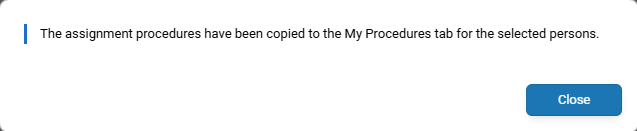
After successful copying of procurement procedures, the NEN system will display a confirmation message.
Copying of procurement procedures is only available to a NEN System User who has the “Participant in a procurement procedure” role and can be performed from multiple locations within the “Organization management” form.